Discourse is a fabulous piece of open-source forum software. It’s written to help build online communities, full of useful advice and interesting relationships. We run two installations of our own at Bytemark, and think it’s the best forum software in 2018.
You can install Discourse on your own server in 20 minutes. Once you’ve done the initial install, it’s easy to administer from your web browser.
 We’ve based these instructions on the official guide, but made them simpler. You don’t need to make as many decisions if you’re hosting at Bytemark, and we’ll also support you in getting it up and running.
If you’ve tried this before and got stuck, don’t worry! We’ll show you how to pull together Debian, Docker and working, self-hosted email.
Create the server
Head over to Bytemark’s create server panel to get that going. We recommend the following settings to start with, but you can expand them later on your forum becomes more popular:
- Name: (your choice, a short name for your forum)
- Group: (you can leave this on the default)
- RAM: 2GB
- OS: Debian 9
- Discs:
- Root disc, 25GB
- Backup schedule: The default is fine, and free!
- Firstboot script: See below, under “Preparing the installation”
- Authentication: You can leave this setting alone and it’ll give you a password (if you have an SSH key, you can of course enter it).
Installing the software
If you’re using Bytemark to create your server, you can copy & paste this firstboot script. It will install Discourse and set it up in one shot.
But you need to edit the email address at the top!
Alternatively if you’re not hosting at Bytemark, you can SSH into the server once you’ve got access to it, and run the script by hand.
#!/bin/bash
#
# Enter your email address here
export EMAIL=my.email.address@example.com

# This sets up a Debian host
export DEBIAN_FRONTEND=noninteractive
export HOSTNAME=`hostname -f`

# wait for dpkg to come available
while ! apt-get -qq check; do sleep 1; done

# Tools to install Docker and configure XFS
apt-get install -yq apt-transport-https ca-certificates curl software-properties-common xfsprogs

# Add Docker security keys
curl -fsSL https://download.docker.com/linux/$(. /etc/os-release; echo "$ID")/gpg | apt-key add -

# Add Docker repository
add-apt-repository \
"deb [arch=amd64] https://download.docker.com/linux/$(. /etc/os-release; echo "$ID") \
$(lsb_release -cs) \
stable"

# Finally install Docker and git
apt-get update
apt-get install -yq docker-ce git

# Install a simple email server - will deliver just fine on
# Bytemark's network, possibly not at all on others.
#
docker run --restart unless-stopped --name mail -d bytemark/smtp

# Download Discourse
mkdir /var/discourse
git clone https://github.com/discourse/discourse_docker.git /var/discourse

# Put configuration file in place
cd /var/discourse
egrep "^# Discourse config" $0 -A99999 | \
  envsubst "\${EMAIL} \${HOSTNAME}" | \
  tee containers/app.yml
./launcher rebuild app
exit

# Discourse config
env:
  DISCOURSE_HOSTNAME: $HOSTNAME
  DISCOURSE_DEVELOPER_EMAILS: $EMAIL
#  LETSENCRYPT_ACCOUNT_EMAIL: $EMAIL
  LANG: en_GB.UTF-8
  UNICORN_WORKERS: 4
  DISCOURSE_SMTP_ADDRESS: smtp
  DISCOURSE_SMTP_PORT: 25
templates:
  - "templates/postgres.template.yml"
  - "templates/redis.template.yml"
  - "templates/web.template.yml"
  - "templates/web.ratelimited.template.yml"
#  - "templates/web.ssl.template.yml"
#  - "templates/web.letsencrypt.ssl.template.yml"
expose:
  - "80:80"
  - "443:443"
params:
  db_default_text_search_config: "pg_catalog.english"
  db_shared_buffers: "256MB"
volumes:
  - volume:
      host: /var/discourse/shared/standalone
      guest: /shared
  - volume:
      host: /var/discourse/shared/standalone/log/var-log
      guest: /var/log
hooks:
  after_code:
    - exec:
        cd: $home/plugins
        cmd:
          - git clone https://github.com/discourse/docker_manager.git
run:
  - exec: echo "Beginning of custom commands"
  - exec: echo "End of custom commands"
Wait for it to install
Discourse will now install. While you’re waiting note down the password! You can keep it, or change it later (see below) but if you lose it you’ll need to contact support.
Discourse will take about 15 minutes to set up. You can watch its progress by opening the Console, and when you see the login: prompt, it’s ready
Now just type the hostname into your web browser, e.g. in our case
http://test123.default.matthew.uk0.bigv.io/
And that’s it! You should see the Discourse welcome screen:
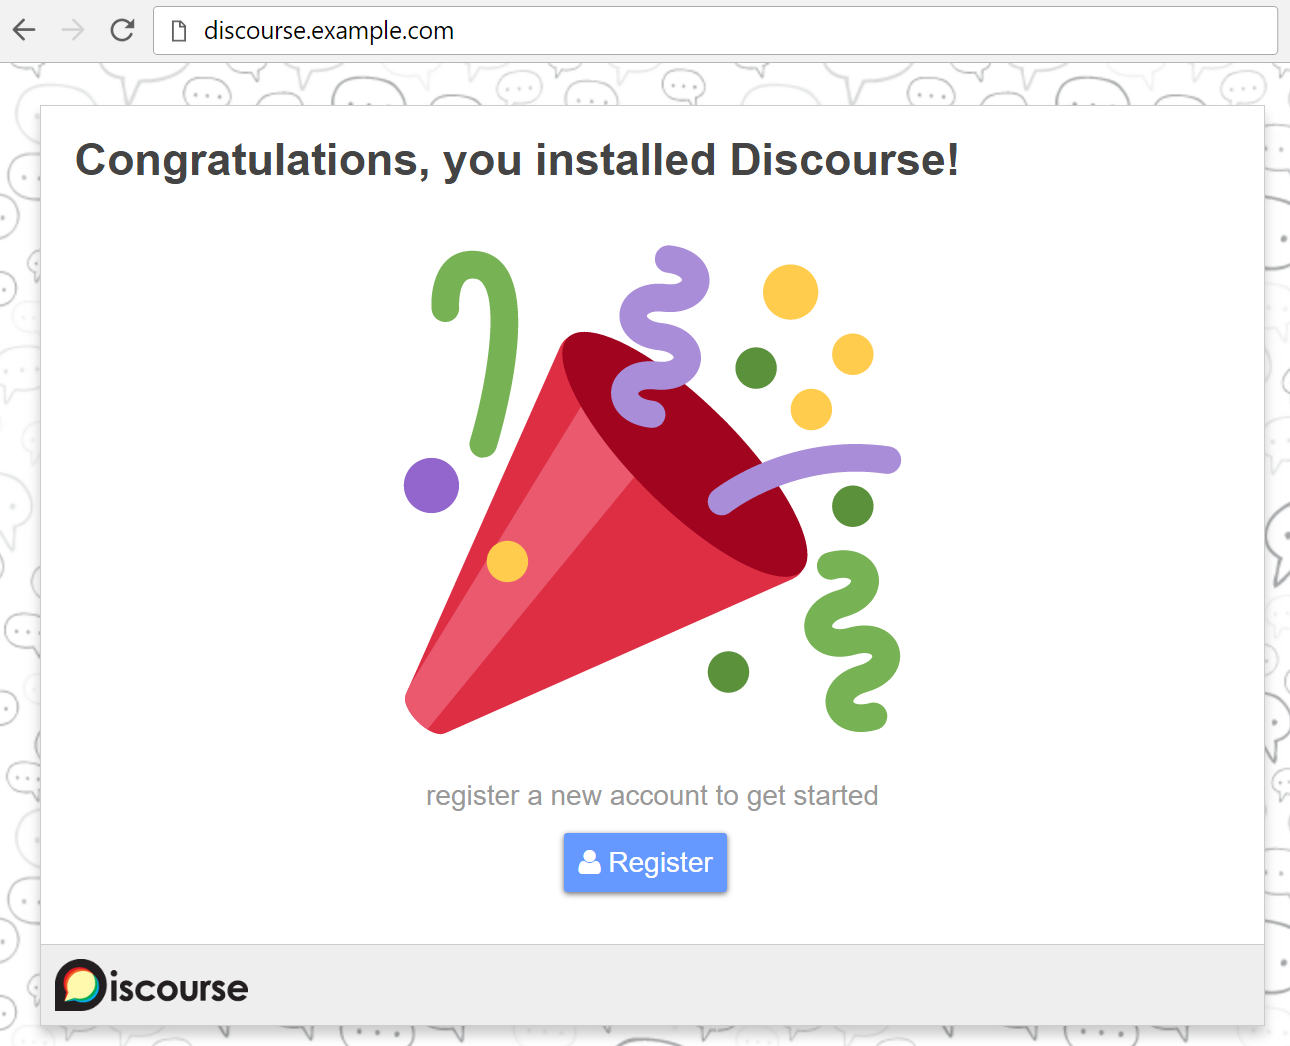
You can then continue to the official install instructions to finish setting it Discourse from your web browser.
After the installation
This is the simplest possible installation, and if you’re happy with it you don’t need to read any further! But there are a few tweaks you might want to consider.
What’s the password for?
Your password is used to administer the server through SSH. You need this for doing low-level Discourse changes.
You can log onto your server with SSH by pressing ⌘+Space (on a Mac) or the Windows key on Linux and typing “Terminal”. You can then type:
ssh root@test123.default.myaccount.uk0.bigv.io
and enter the password to connect. You can type passwd if you want to change it. You will need to connect to do some of the tasks below.
How can I host Discourse using my own domain?
Bytemark servers come with a long address ending in .bigv.io. This comes as part of your server installation, and you can use that name for as long as you want.
If you want to use your own domain instead, you’ll need to register a domain through our control panel and use our Content DNS service to point your domain at your Discourse server.
Once that’s done, you need to edit the /var/discourse/containers/app.yml file.
There’s a line named DISCOURSE_HOSTNAME – replace the Bytemark name with your new domain name. Save the file and type
/var/discourse/launcher rebuild app
This will take 10 minutes, but when the site comes back up you should be able to access it through the new name.
You will also need to go through the Discourse settings and ensure the old name has been replaced with the new name.
How can I access my site through SSL?
Discourse makes this really easy thanks to the LetsEncrypt project. Unfortunately we disabled it in this tutorial because LetsEncrypt doesn’t work reliably with our bigv.io domains – this should be fixed by September 2018. So you’ll need to use your own domain before this will work reliably.
Open up the /var/discourse/containers/app.yml file again. You just need to delete the ‘#’ from the start of the three lines starting with #, and save the file again.
Once that’s done, just type
/var/discourse/launcher rebuild app
This will take 10 minutes, but when the site comes back up you should be able to access it through https:// instead of http.
You might also need to go through the Discourse settings and ensure your hostname is up to date, and includes the https:// URL.
Is this email setup really OK?
Discourse documentation recommends 3rd party email providers to be sure your email will work. This works, but you’ll pay for it! Bytemark’s experience has been you’ll be fine using new servers in our network for the purpose. We are able to keep on top of network abuse, hence email providers generally trust our infrastructure, and therefore we recommend self-hosting your email. It works, and life is simpler.
Why don’t you recommend the discourse-setup script?
The setup script is a simple way to prompt you for values in the app.yml file. We’ve found ourselves fighting it in the past, so we think copying a config file is simpler.