Nextcloud — the spiritual successor to ownCloud — is open source software that puts data back in your control. It offers Dropbox-style file hosting functionality, as well as a host of other features like calendar synchronization, messaging and video chat.
In about 5 minutes you’ll have a Nextcloud website running with Docker, Let’s Encrypt SSL certificates (via Traefik), phpMyAdmin and automatic updates.
If you’ve got your own server already — whether at Bytemark or not — skip the Create a Cloud Server section and run our setup script on your server instead.
If you’re a developer or sysadmin and just looking for the nitty gritty, skip down to the Technical details section.
Create a Cloud Server
- Login to the Bytemark Panel (or start a free trial).
- Add a Cloud Server with these settings:
- Name: Give your server a name (eg, “nextcloud”)
- Group: Leave as “default”
- Resources: 1 Core, 1GiB Memory
- Operating System: Debian 9
- Discs: 25GiB SSD storage (but increase if you have a lot of data)
- Backup Schedule: Leave enabled (recommended)
- Boot options: Select Add script and paste this inside:
#!/bin/sh
export DEBIAN_FRONTEND=noninteractive

# Wait for apt-get to be available.
while ! apt-get -qq check; do sleep 1s; done

# Install docker-ce and docker-compose.
apt-get update
apt-get install -y apt-transport-https ca-certificates curl gnupg2 software-properties-common
curl -fsSL https://download.docker.com/linux/debian/gpg | apt-key add -
add-apt-repository "deb [arch=amd64] https://download.docker.com/linux/debian `lsb_release -cs` stable"
apt-get update
apt-get install -y docker-ce
curl -fsSL https://github.com/docker/compose/releases/download/1.21.2/docker-compose-`uname -s`-`uname -m` -o /usr/local/bin/docker-compose
chmod +x /usr/local/bin/docker-compose

# Check for security updates every night and install them.
apt-get install -y unattended-upgrades

# Retrieve configuration files. Lots of explanatory comments inside!
# If you'd rather inspect and install these files yourself, see:
# https://github.com/BytemarkHosting/configs-nextcloud-docker
mkdir -p /root/compose
curl -fsSL https://raw.githubusercontent.com/BytemarkHosting/configs-nextcloud-docker/master/docker-compose.yml -o /root/compose/docker-compose.yml
curl -fsSL https://raw.githubusercontent.com/BytemarkHosting/configs-nextcloud-docker/master/.env -o /root/compose/.env
curl -fsSL https://raw.githubusercontent.com/BytemarkHosting/configs-nextcloud-docker/master/traefik.toml -o /root/compose/traefik.toml
curl -fsSL https://raw.githubusercontent.com/BytemarkHosting/configs-nextcloud-docker/master/php.ini -o /root/compose/php.ini

# Traefik needs a file to store SSL/TLS keys and certificates.
touch /root/compose/acme.json
chmod 0600 /root/compose/acme.json

# Use the hostname of the server as the main domain.
sed -i -e "s|^TRAEFIK_DOMAINS=.*|TRAEFIK_DOMAINS=`hostname -f`|" /root/compose/.env
sed -i -e "s|^NEXTCLOUD_DOMAINS=.*|NEXTCLOUD_DOMAINS=`hostname -f`|" /root/compose/.env

# Fill /root/compose/.env with some randomly generated passwords.
sed -i -e "s|^NEXTCLOUD_DB_ROOT_PASSWORD=.*|NEXTCLOUD_DB_ROOT_PASSWORD=`cat /dev/urandom | tr -dc '[:alnum:]' | head -c14`|" /root/compose/.env
sed -i -e "s|^NEXTCLOUD_DB_PASSWORD=.*|NEXTCLOUD_DB_PASSWORD=`cat /dev/urandom | tr -dc '[:alnum:]' | head -c14`|" /root/compose/.env
sed -i -e "s|^NEXTCLOUD_ADMIN_PASSWORD=.*|NEXTCLOUD_ADMIN_PASSWORD=`cat /dev/urandom | tr -dc '[:alnum:]' | head -c14`|" /root/compose/.env
apt-get install -y apache2-utils
BASIC_AUTH_PASSWORD="`cat /dev/urandom | tr -dc '[:alnum:]' | head -c10`"
BASIC_AUTH="`printf '%s\n' "$BASIC_AUTH_PASSWORD" | tee /root/compose/auth-password.txt | htpasswd -in admin`"
sed -i -e "s|^BASIC_AUTH=.*|BASIC_AUTH=$BASIC_AUTH|" /root/compose/.env

# Start our containers.
cd /root/compose
docker-compose up -d
- Have a cup of tea! Your Nextcloud site will be ready in about 5 minutes.
- The Panel will tell you the root password for your server. Save it!
- Click on the Console button next to your Cloud Server. You’ll know installation has finished when you see a login prompt. You can login with username root.
After installation
In your browser, navigate to the hostname of your server (eg, http://name.of.server.uk0.bigv.io). If you see a Bad Gateway message, wait a few seconds for the database to initialize and then refresh your page.
Nextcloud’s setup wizard will ask you to create an administrative user and password. If you’re using your own domain, it’s easier to do that first before going through the setup wizard.

And now you’re pretty much done!
Read on if you want to Use your own domain, Enable SSL/TLS or Access phpMyAdmin.
Use your own domain
If you’ve already gone through Nextcloud’s setup wizard, first you need to tell Nextcloud to trust the new domain. If the old domain is
old_domain.comand the new domain isnew_domain.com, browse tohttp://old_domain.com/settings/admin?trustDomain=new_domain.com(and repeat for any further domains).
Login to your Cloud Server and open /root/compose/.env in a text editor:
nano /root/compose/.env
Change NEXTCLOUD_DOMAINS to your own domain. (Do the same for TRAEFIK_DOMAINS if you want to access the Traefik dashboard.) For example:
NEXTCLOUD_DOMAINS=my-brilliant-site.com,www.my-brilliant-site.com
Restart your Docker containers to apply the change:
cd /root/compose
docker-compose down
docker-compose up -d
Enable SSL/TLS
Configure your own domain as per the previous step. All domains you list in NEXTCLOUD_DOMAINS must point to your server (via DNS records) for this to work.
Once you’ve done that, Traefik will generate Let’s Encrypt SSL certificates for you automatically! Browse to https://your_domain.com to see if it worked.
If you want to redirect all HTTP traffic to HTTPS (as is recommended these days), open /root/compose/traefik.toml in a text editor and uncomment two lines so that it looks like this:
[entryPoints]
  [entryPoints.http]
  address = ":80"
  # Uncomment the following two lines to redirect HTTP to HTTPS.
    [entryPoints.http.redirect]
    entryPoint = "https"
Open /root/compose/docker-compose.yml in a text editor. Under the nextcloud: section, uncomment the bottom line so that it looks like this:
      # Uncomment the next line to enable HSTS header.
      - "traefik.frontend.headers.STSSeconds=15768000"
Restart your Docker containers to apply the change:
cd /root/compose
docker-compose down
docker-compose up -d
Access phpMyAdmin
The setup script generated a password and saved it inside /root/auth-password.txt on your server. Look inside to see what the browser authentication password is for the admin user:
cat /root/compose/auth-password.txt
Go to http://name.of.server.uk0.bigv.io/phpmyadmin/ in your browser. The last forward slash is important! Login with username admin.
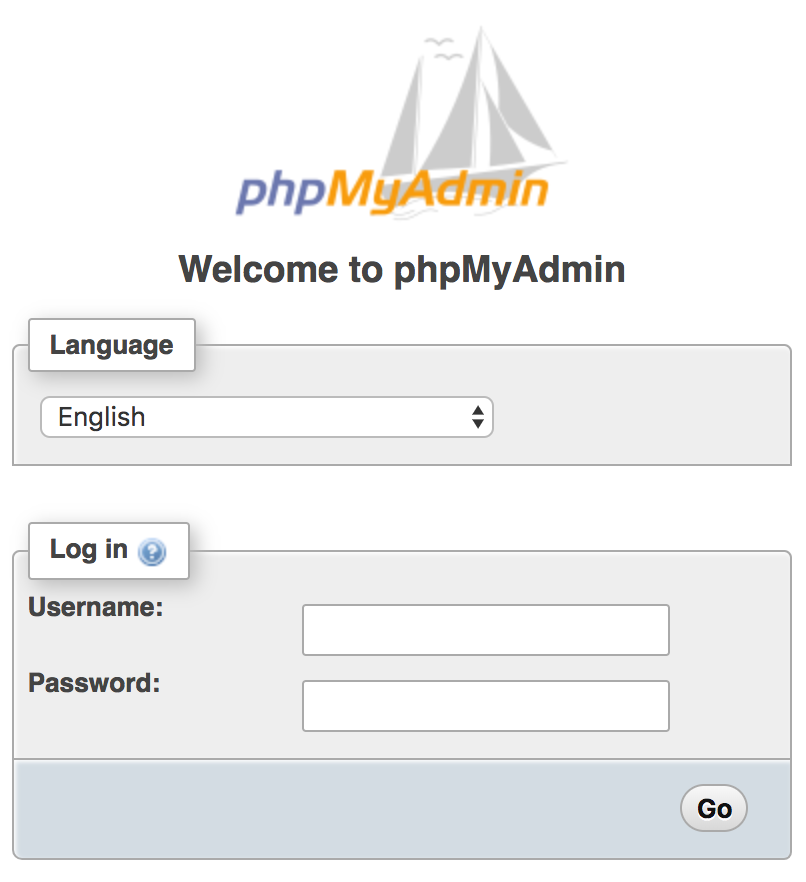
If that works, you’ll see this:

Here you can login as any MySQL user you want. You can find the password for the MySQL root user inside your Docker environment file (which also has instructions on how to change any of the passwords used):
cat /root/compose/.env
Access the Traefik dashboard
Traefik has a nice dashboard with health metrics. Navigate to http://name.of.server.uk0.bigv.io/traefik/ and login with username admin and the same browser authentication password as for phpMyAdmin above.
Technical details
Inside /root/compose you’ll find all the configuration files, which are taken from our Git repository. Feel free to browse around or adapt those configuration files to your needs.
- Traefik acts as a reverse proxy, listening on ports 80 and 443 and passing web traffic to the appropriate container based on rules you decide (eg, based on the URL). If domains are properly configured, it automatically retrieves Let’s Encrypt SSL certificates for you.
- Watchtower automatically updates your containers to the latest images, such as your Nextcloud version. This keeps your website secure.
- phpMyAdmin gives you access to view, modify and retrieve your database. For security, the phpMyAdmin dashboard is behind a browser login prompt using “admin” user and the password inside
/root/compose/auth-password.txt. You can find the database “root” user password inside the/root/compose/.envfile. - Our configuration installs a custom php.ini file, as some of PHP’s default settings are too restrictive and tend to cause headaches.
- Our bytemark/smtp image allows your Nextcloud server to send outgoing emails if needed (eg, password resets).